Ever thought a kitchen gadget could turn your home into a bakery? The Thermomix makes easy homemade bread a breeze. You can make your own warm bread in just a few *simple steps*. Plus, you can try out different Thermomix bread recipes to find your favorite.
This article will show you how easy and efficient the Thermomix is for baking. From starting to finish, you’ll learn the art of bread making in a new way.
Table of Contents
Introduction to Baking Bread in Your Thermomix
Baking bread at home is a fun journey, even more so with a Thermomix. This kitchen tool makes many steps easier. You’ll spend less time on hands-on tasks and get great results every time. Many people love the precision and ease it brings to bread making.
Let’s explore the benefits and the kinds of bread you can make.
Benefits of Using a Thermomix for Bread
Using a Thermomix for bread making has many advantages. It cuts down on the hard work of kneading and mixing. This makes the whole process smoother. You can find and tweak the best bread recipes for Thermomix to make what you want.
It also means less cleaning up and more accurate measurements. This leads to perfect bakes every time.
Overview of Bread Varieties You Can Make
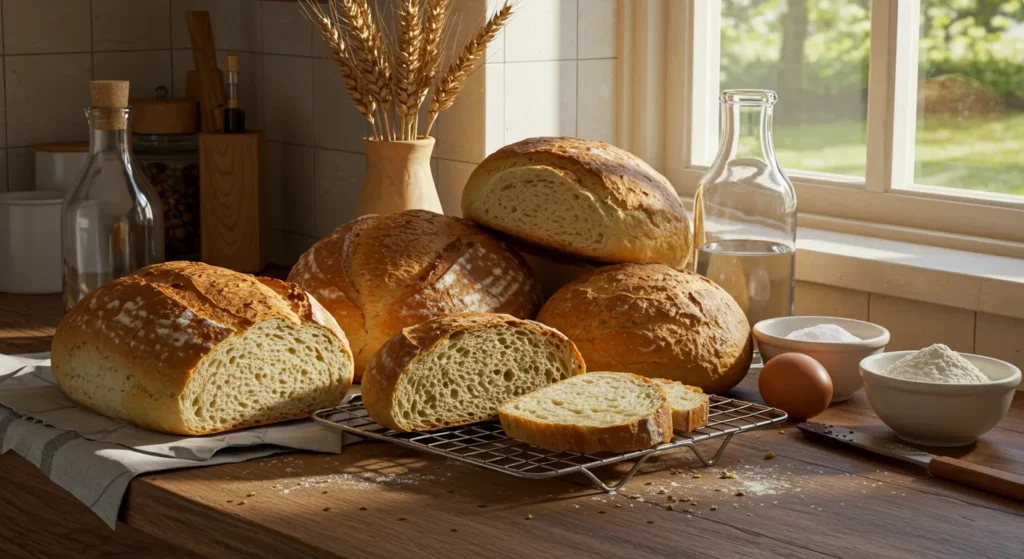
Your Thermomix lets you make all sorts of bread. From simple white loaves to complex sourdough and focaccia. You can add herbs, cheese, or bacon for a twist.
The fun of making homemade bread in Thermomix is its flexibility. Every recipe you try can be a hit, tailored to your family’s preferences.

Essential Ingredients for Baking Bread
Baking bread in your Thermomix needs a few key ingredients. These ingredients greatly affect the taste and texture of your bread. Knowing these basics can make your bread go from good to great. Here, we’ll cover the must-haves for your homemade bread and some extras to make it even better.
Common Ingredients for Basic Bread
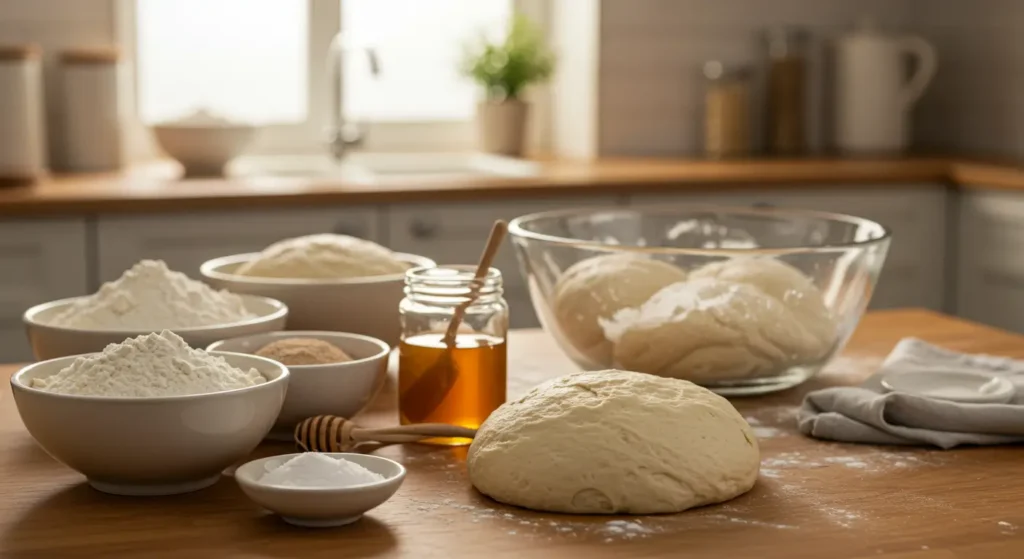
Here are the main ingredients for making great bread with your Thermomix:
- Baker’s flour: This flour has 12-14% gluten, which helps the bread rise.
- Yeast: Yeast is a key leavening agent. It needs warm water and sugar to activate. Keep the temperature between 25 – 35 degrees Celsius to keep it alive.
- Warm water: About 310g of warm water is needed to activate the yeast.
- Light oil: A tablespoon of oil makes the dough softer and improves its texture.
- Salt: One teaspoon of salt adds flavor and helps control yeast growth.
Optional Add-ins for Flavor and Texture
To enhance your homemade bread, consider adding these optional ingredients:
- Bread improver: Adding 2 teaspoons of this can make your bread lighter and last longer.
- Sweeteners: Sugar helps with browning and adds a touch of sweetness.
- Seeds and herbs: Sunflower seeds or rosemary can add unique flavors and textures.
Knowing these ingredients is key to making delicious bread. With the right mix, you’ll soon be a pro at making Easy Thermomix bread recipes.

Preparing Your Thermomix for Bread Making
Getting your Thermomix ready for bread making is key to success. Make sure it’s clean and all parts are in place. This ensures your bread turns out great when you use the best Thermomix bread recipes.
Setting Up Your Thermomix
Start by learning how your Thermomix works. If it’s your first time, let it charge for two hours. This step is important for the right cooking temperature, which makes your bread better.
Choosing the Right Bowl and Accessories
The right bowl and accessories are important for bread making. Use the mixing bowl made for the Thermomix to avoid problems. The ThermoServer helps with dough proofing, making your bread taste and feel better. Always use the right measuring tools to keep your ingredients in balance, which is critical for the best Thermomix bread recipes.
| Accessory | Purpose | Importance |
|---|---|---|
| Thermomix Bowl | Mixing ingredients | Critical for proper dough development |
| ThermoServer | Proofing dough | Maintains optimal temperature for fermentation |
| Measuring Cups | Accurate ingredient measurements | Essential for reliable results |
Step-by-Step Guide to Making Bread
Baking bread with a Thermomix can change your kitchen experience. It makes delicious results easy to achieve. This guide will walk you through the key steps of Thermomix bread making. It starts with activating yeast and ends with kneading the dough.
The mixing and kneading functions are simple. They help make perfect dough every time. This makes it great for Easy Thermomix bread recipes.
Activating Yeast: The First Step
To start, activate your yeast for the best rising. Mix water (about 300 grams), a pinch of sugar, and your yeast in the Thermomix bowl. Wait for about 10 minutes until bubbles appear on the surface.
This shows your yeast is alive and ready to make the dough rise.
Mixing and Kneading Dough with Thermomix
After activating your yeast, mix your ingredients. Add the following to the Thermomix bowl:
- 100 grams of active sourdough starter
- 450 grams of bread flour
- 10 grams of salt
Mix these for about 1 minute on speed 4. Then, knead the dough to develop the gluten. Knead for about 8 minutes to get a smooth, elastic dough.
Let the dough rest for at least 30 minutes after mixing and kneading. This rest helps the gluten develop, making the bread better. Now, you’re ready for the proofing step, which is next in making your Thermomix bread.
Proofing Your Bread Dough
Proofing is key when making homemade bread in Thermomix. It lets the dough rise and develop rich flavors. Yeast turns sugars into carbon dioxide, making the dough light and airy.
Knowing how to proof your dough can make a big difference. It affects the bread’s taste and texture.
Why Proofing is Important
Proofing makes the bread lighter and more delicious. It’s important to watch the dough closely. A finger indentation should slowly disappear when it’s ready.
If it bounces back fast, the dough needs more time. This can make your bread denser.
Techniques for Proper Dough Rising
There are ways to help your dough rise well in Thermomix. A warm spot in your kitchen is great for traditional proofing. Or, use a temperature-controlled method for better results.
For a slow rise, keep the dough in the fridge for up to three days. This cuts down yeast by 50% and improves flavor.
Set aside 3-4 hours for proofing. This includes 2 hours for the first rise and 1-2 hours for the second. These techniques can improve your homemade bread in Thermomix.
Shaping and Baking Your Bread
Shaping your dough is key to your bread’s look and feel. It helps make loaves that look good and feel right. Using the right techniques and preparing your oven well will help you get great results with your Thermomix bread machine.
Common Techniques for Shaping Bread
Dividing your dough into equal parts is a common method. For a soft Milk Bread, cut it into three equal pieces. Then, shape each piece into a rope about 45 cm long. This ensures even rising in the oven.
- Start by gently flattening the dough with your hands.
- Use a bench scraper to cut the dough into equal portions.
- Shape each portion into a tight rope, tucking in the ends.
Let the dough rise for another 30 minutes. This helps it rise above the bread tin.
Prepping Your Oven for Baking
Getting your oven ready is important for baking. Heat it to 180°C (356°F) for the best results. Make sure you have loaf pans ready for even heat.
When your dough is ready, put it in the oven. Keep an eye on it as it bakes for 25-30 minutes. Check if it’s done by tapping the bottom; it should sound hollow. This way, you get a perfect crust and moist bread.
Troubleshooting Common Bread Baking Issues
Even experienced bakers face challenges in bread making, often with a Thermomix. Knowing how to fix common problems can make baking better. You can make the best bread with a Thermomix by solving issues like under-risen dough and dense loaves. Each problem has its own signs and fixes, helping you improve your baking skills.
Addressing Under-Risen Dough
Under-risen dough can ruin your Thermomix bread. Look for signs like a loaf that doesn’t rise or looks dense. Make sure your yeast is fresh and works well. Yeast needs a temperature between 25 – 35 degrees Celsius to be active. If it gets too hot, it won’t work.
Let your dough proof for about 2 hours until it doubles. This is key for a good rise.
- Check the yeast expiration date.
- Make sure your water temperature is warm, not hot.
- Provide a warm and draft-free environment for proofing.
Fixing Dense or Heavy Bread
A dense loaf often comes from wrong ingredient ratios or not kneading enough. The right flour is important. Bakers flour has 12-14% gluten for structure, while all-purpose flour has 8-11%. If your bread is too heavy, try changing the flour or measuring better.
Knead your dough well with the Thermomix for good gluten. Adding psylium husk powder can make it chewier. Bake for 30-40 minutes to get a crust that sounds hollow when tapped. These tips will make your Thermomix a great bread-making tool.
Storing and Preserving Your Homemade Bread
After baking your own bread in Thermomix, it’s key to store it right. This keeps it fresh and tasty. Here are tips to enjoy your bread as much as the first time.
Best Practices for Storing Bread
Storing bread right means keeping it away from air and moisture. Here’s how:
- Wrap your bread in a clean towel or parchment paper for a short time. This absorbs moisture and keeps the crust crunchy.
- For longer storage, use a bread box or airtight container. It keeps the bread soft and fresh.
- Keep bread at room temperature, unless it’s very humid. Refrigeration can make it stale.
Tips for Freezing Bread for Later Use
Freezing your homemade bread can make it last longer. Here’s how to freeze and enjoy it later:
- Slice your bread before freezing. This lets you take out just what you need without thawing the whole loaf.
- Wrap each slice in plastic or foil, then put them in a freezer bag. This keeps the bread fresh and prevents freezer burn.
- Mark the freezer bags with the date. Homemade bread stays good for about 3 months when frozen.
With these easy tips, you can enjoy your homemade bread for days or weeks. Share it with others and keep the baking joy alive!
Creative Variations on Traditional Bread Recipes
Looking to make easy Thermomix bread recipes? Try something new. Add herbs, spices, and whole grains to your dough. This not only brings new tastes but also makes your bread healthier.
Adding Herbs and Spices
Herbs and spices can turn a simple loaf into something special. Think about adding:
- Rosemary for a fragrant touch.
- Garlic powder for a savory kick.
- Cinnamon for a hint of sweetness, great for breakfast loaves.
These ingredients make your bread perfect for any meal. Start with 1 to 2 tablespoons, depending on how strong you like the flavor.
Using Whole Grains and Seeds
Whole grains and seeds add texture and health benefits. Try adding:
- Oats
- Flax seeds
- Sunflower seeds
Just mix them into your dough. A good starting point is 1/2 cup of seeds for a crunchy texture and nutty taste.
Trying these variations can lead to amazing results in your Thermomix. You’ll bake delicious loaves that match your taste and dietary needs.
| Add-In | Quantity | Flavor Profile |
|---|---|---|
| Rosemary | 1-2 tablespoons | Fragrant, savory |
| Garlic Powder | 1-2 tablespoons | Savory, aromatic |
| Cinnamon | 1-2 tablespoons | Sweet, warm |
| Oats | 1/2 cup | Nutty, hearty |
| Flax Seeds | 1/2 cup | Nutritional, crunchy |
| Sunflower Seeds | 1/2 cup | Crunchy, slightly sweet |
Customizing Your Bread-Making Process
Baking lets you create unique flavors and textures that fit your dietary needs. Using Thermomix bread recipes makes it easy to personalize your loaves. You can adjust ingredients to ensure every slice meets your nutritional preferences.
Adjusting for Dietary Preferences
Want to modify your bread recipes? You can easily make them gluten-free, low-sugar, or vegan. Here are some popular alternatives:
- Gluten-Free Flour: Use a gluten-free mix instead of all-purpose flour. The bread might not rise as much.
- Low-Sugar Options: Replace sugar with honey or maple syrup. Adjust the amount to your taste.
- Dairy-Free Ingredients: Use plant-based milk or oil instead of butter for a vegan loaf.
Experimenting with New Ingredients
Adding variety to your homemade bread in Thermomix is exciting. Try these:
- Herbs and Spices: Add fresh herbs like rosemary or spices like cumin for a unique flavor.
- Whole Grains and Seeds: Use whole wheat flour or seeds like chia or flax for extra nutrition and texture.
- Fruits and Nuts: Sprinkle walnuts or chocolate chips into the batter for sweetness and crunch.
Here’s a comparison table to help you enhance your Thermomix bread recipes:
| Ingredient Type | Traditional Ingredient | Substitute | Notes |
|---|---|---|---|
| Flour | All-Purpose Flour | Gluten-Free Mix | May yield denser bread |
| Sugar | Granulated Sugar | Honey or Maple Syrup | Adjust quantity to preference |
| Butter | Unsalted Butter | Olive Oil or Coconut Oil | Use same amount for moisture |
| Eggs | Large Eggs | Flax Egg (1 tbsp flaxseed + 3 tbsp water) | For vegan-friendly bread |
Conclusion: Enjoying Your Homemade Bread
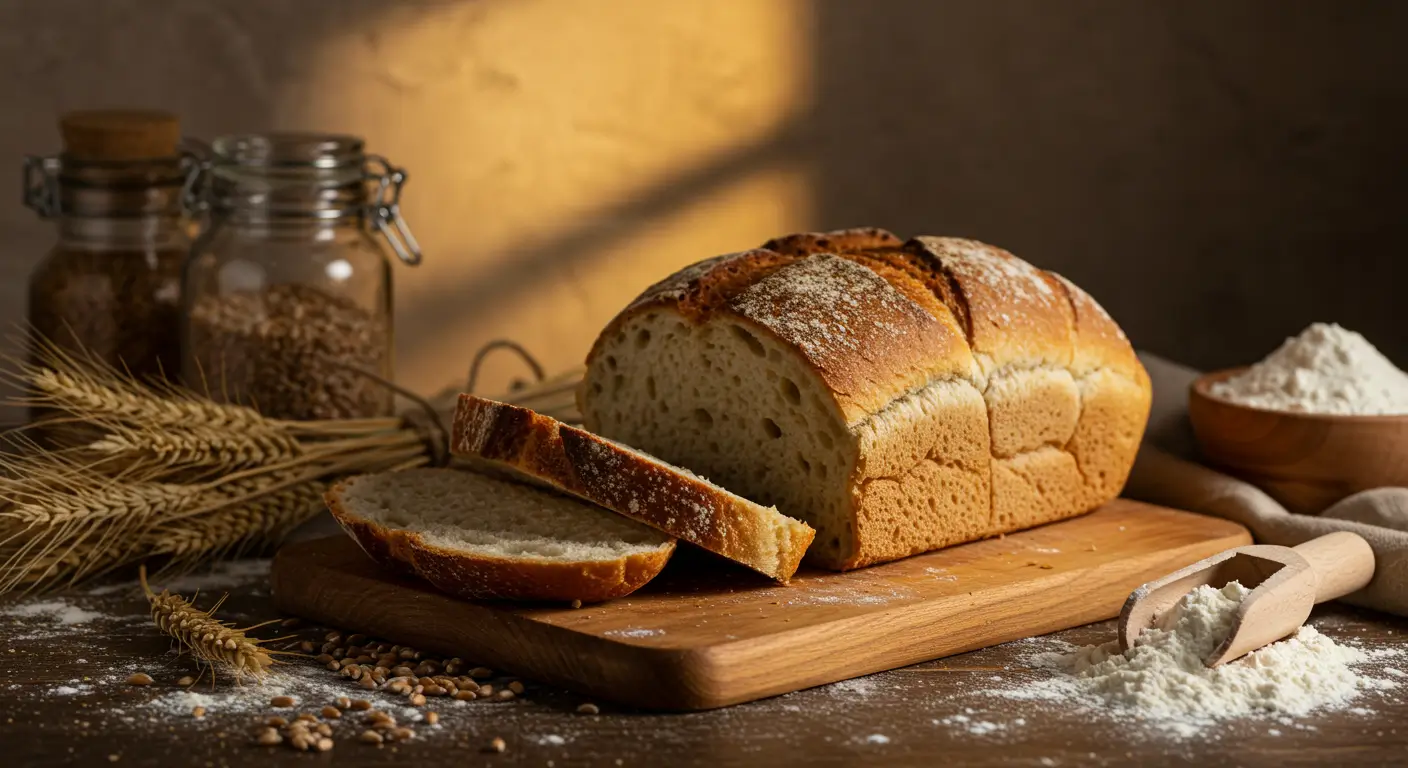
Mastering Thermomix bread making opens up a world of joy beyond the kitchen. Each loaf fills your home with wonderful smells. It also becomes a cozy centerpiece for family and friends gatherings.
Sharing your homemade English muffin bread brings people together. It’s a sign of love and community. Imagine a warm slice with butter and jam, perfect for any time.
Your Thermomix adventures can go in many directions. Try new recipes like lentil bread or mix different grains and flavors. This appliance lets you be creative and make recipes that fit your taste.
As you get better, you’ll find endless possibilities. Each loaf is a new discovery. So, get ready to bake and make memories.
FAQ
What is the secret to making homemade bread?
The secret to making homemade bread lies in using the right ratio of flour, water, yeast, and salt. Kneading the dough properly and allowing it to rise at the right temperature are also crucial for achieving a soft, airy texture. Patience during the proofing process and baking the bread at the correct temperature will ensure a perfect result.
Is egg added to bread?
Yes, egg is sometimes added to bread, particularly in recipes for enriched bread like brioche, challah, or sweet rolls. Eggs contribute to the bread’s richness, fluffiness, and color. However, not all bread recipes require eggs; basic breads like white or whole wheat bread typically do not contain eggs.
Is it cheaper to make your own bread?
Yes, making your own bread is generally cheaper than buying store-bought bread. The ingredients for homemade bread (flour, yeast, water, salt) are inexpensive and yield multiple loaves. While it requires some time and effort, it offers great cost savings in the long run compared to purchasing artisan loaves.
What ingredients are in homemade bread?
The basic ingredients in homemade bread are flour, water, yeast, and salt. Some recipes may also include sugar, butter, oil, or milk to enhance the flavor and texture. You can also add seeds, herbs, or sweeteners for variation.

