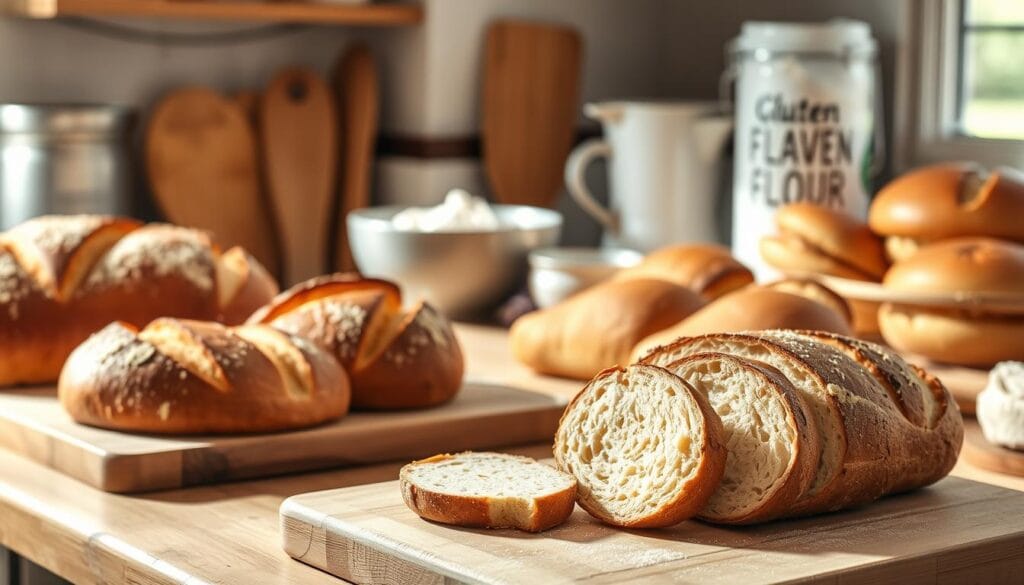
Can you make a gluten-free sourdough bread as good as the traditional kind? Many people are now baking gluten-free sourdough as a healthier option. To start, you need to know the basics. This includes using gluten-free flours and making a healthy sourdough starter.
Starting your gluten-free sourdough adventure means learning about gluten-free flours and sourdough starters. With the right methods and ingredients, you can bake a delicious gluten-free sourdough. This guide will show you how to create your own starter and master fermentation and baking.
Table of Contents
Understanding Gluten-Free Sourdough Bread
Gluten-free sourdough bread is a favorite in gluten-free baking. It uses a sourdough starter instead of commercial yeast. It’s made with gluten-free flours like rice, almond, or coconut flour.
Going gluten-free has many benefits. It can improve digestion, boost energy, and lower the risk of chronic diseases. Gluten-free sourdough bread offers:
- Lower gluten levels, making it easier to digest for those with gluten sensitivities
- Increased nutritional value, as the fermentation process breaks down phytates and makes the bread easier to digest
- A unique, tangy flavor that is developed during the fermentation process

Choosing the right flour is key when making gluten-free sourdough bread. Gluten-free flours are more delicate than traditional ones. They might need extra ingredients like xanthan gum for texture and structure.
Essential Equipment for Baking
Baking gluten-free sourdough bread needs the right tools for success. You’ll need a digital scale for accurate measurements. A large mixing bowl and wooden spoon are key for mixing ingredients.
A baking stone or Dutch oven is vital for a crispy crust. Other important tools include a sourdough starter container, a dough scraper, and a bench scraper. A sourdough starter is essential, and a dedicated container keeps it healthy.
When picking baking equipment, look at the material and durability. A cast iron pot is great for trapping steam and helping the bread rise.
Here are some key baking equipment items to consider:
- Digital scale
- Mixing bowl
- Wooden spoon
- Baking stone or Dutch oven
- Sourdough starter container
- Dough scraper
- Bench scraper

Investing in these tools will help you make delicious gluten-free sourdough bread. Choose high-quality baking equipment that lasts. Also, keep your sourdough starter healthy and active.
Creating Your Gluten-Free Starter
To make a healthy gluten-free sourdough starter, you need gluten-free flours, water, and a clean space. It takes about 5-7 days to make one, but it can take longer.
The first mix has 2 tablespoons of buckwheat or brown rice flour, 2 tablespoons of sweet rice flour, and 1/4 cup of water. When refreshing, you add 1/4 cup of starter, 1/3 cup of water, 3 tablespoons of buckwheat flour, and 3 tablespoons of sweet white rice flour.
Step-by-Step Starter Creation
Here’s how to make your gluten-free sourdough starter:
- Mix the initial ingredients in a clean glass or ceramic container.
- Cover it with a cloth or plastic wrap and let it rest in a warm, draft-free place for 24-48 hours.
- Discard half of the starter and add the refreshing ingredients.
- Repeat the process of discarding half of the starter and adding the refreshing ingredients every 24 hours for the next 5-7 days.
Common Issues and Solutions
Some common problems include a slow or inactive starter. To fix this, feed it regularly and keep it in a warm, draft-free spot. Adding a bit of sugar or honey can also help it start.
By following these steps and tips, you can create a healthy gluten-free sourdough starter. It will help you bake delicious gluten-free bread. Always use gluten-free flours and be patient, as making a sourdough starter takes time.
The Science Behind Sourdough Fermentation
Sourdough fermentation is a complex process. It involves wild yeasts and bacteria. When you explore gluten-free sourdough, knowing the science is key. This process is slow but the result is worth it.
The role of wild yeasts is vital. They turn the dough’s sugars into carbon dioxide and ethanol. Factors like flour type, temperature, and time affect the fermentation.
Whole wheat flours give a malty, nutty taste. Organic acids in sourdough can help manage diabetes. The best pH for over 70% phytic acid degradation is 4.3 to 4.6.
Some benefits of sourdough fermentation include:
- Enhanced nutritional value
- Improved digestibility
- Increased flavor and texture
The mix of lactic acid bacteria and yeast reduces phytic acid by over 40%. It also makes proteins and dietary fiber more digestible.
Exploring gluten-free sourdough means embracing a natural process. With patience and the right ingredients, you can make delicious gluten-free sourdough bread.
Choosing Gluten-Free Flours
When baking gluten-free sourdough bread, picking the right flours is key. A mix of gluten-free flours is best, as one grain can’t replace wheat gluten. Flour blends add depth to flavor and texture.
Rice and almond flour make a bread light and airy. Starches like tapioca or potato help with chewiness. Gluten-free flours soak up liquid differently, so you might need to adjust the dough’s moisture.
Choose quality ingredients for the best results. Organic, whole-grain flours often have more yeast, which helps with fermentation. Here are some gluten-free flours to try:
- Rice flour
- Almond flour
- Coconut flour
- Teff flour
- Buckwheat flour
With the right gluten-free flours, you can make a gluten-free sourdough that’s just as good as the traditional kind. Always use fresh, quality ingredients for the best taste and texture.
Mixing and Kneading Techniques
Working with gluten-free dough requires the right mixing and kneading techniques. You should mix it for 2 to 3 minutes on medium speed. This makes it cohesive and smooth. Then, let it rest for 20 minutes to hydrate.
After that, knead the dough. This involves folding and pressing it to improve its texture. For gluten-free dough, knead 5 to 7 times for a firmer texture. Be gentle, as it’s more delicate than traditional dough.
When mixing and kneading gluten-free dough, use the right techniques. A stand mixer or wooden spoon works well. Be gentle to avoid over-working. You can also mix different flours like sorghum, brown rice, and arrowroot for unique flavors.
By following these tips, you can make delicious gluten-free bread. It’s great for sandwiches, toast, or just snacking. Always use fresh ingredients and try different flavors to find your favorite.
Shaping Your Dough
Shaping your gluten-free dough is key in bread-making. It needs gentle care to get the right loaf shape. You’ll learn special techniques for this delicate dough.
Creating a tight outer skin is vital. This helps keep the shape until it’s baked. Use the right methods, like preshaping and final shaping, to do this.
Here are some tips for shaping your gluten-free dough:
- Use a gentle touch to avoid over-working the dough
- Create a tight outer skin to retain the shape
- Use the right shaping techniques, such as preshaping and final shaping
Follow these tips to make beautiful, tasty loaves. Handle the dough carefully. Don’t hesitate to try different techniques to find what works best for you.
Proofing Your Sourdough
Proofing is key for gluten-free sourdough bread. It lets the dough rise and get its flavor and texture. Knowing the best conditions and times for proofing is important.
The perfect place for proofing is warm and free from drafts, with a steady temperature. You can use a proofing basket or a turned-off warm oven. Proofing time varies, but it’s usually 1 to 4 hours in warm places or overnight in cooler ones.
- Temperature: Warmer temperatures lead to faster fermentation, while colder temperatures slow it down.
- Hydration level: The hydration level of the dough can affect the proofing time, with higher hydration levels resulting in longer proofing times.
- Flour type: The type of flour used can also impact the proofing time, with some flours requiring longer or shorter proofing times.
By understanding these factors and creating the right conditions for proofing, you can help your gluten-free sourdough bread rise to its full. It will develop a delicious, complex flavor.
Baking Your Gluten-Free Bread
As you reach the final step in gluten-free baking, it’s key to know about oven preheating and baking. Gluten-free baking is different from traditional bread baking. It’s more delicate and can burn easily. To get the perfect crust, preheat your oven correctly and use the right baking time and temperature.
Finding the right baking temperature is critical. A temperature that’s too high can burn the bread. On the other hand, a temperature that’s too low can make the bread dense or undercooked. For gluten-free sourdough bread, baking at around 425°F (218°C) is often recommended. To get a crispy crust, try baking in a Dutch oven or use a steam injection method.
- Use a Dutch oven or steam injection method to create a crispy crust
- Preheat your oven to the right temperature
- Use the right baking time and temperature
By following these tips and understanding the importance of proper oven preheating and baking techniques, you can create delicious gluten-free sourdough bread with a crispy crust.
Common Issues
When baking gluten-free sourdough bread, you might face issues like dense or gummy bread. Understanding the causes and solutions is key. Overmixing the dough or using the wrong flour can make bread dense. Gummy bread often comes from underbaking or overproofing.
To fix these problems, adjusting the dough’s hydration is a good start. Gluten-free sourdough needs more water than regular sourdough. Also, tweaking the proofing time and temperature can help.
Here are some tips for fixing common gluten-free sourdough bread issues:
- Check the dough’s hydration to avoid it being too dry or wet.
- Adjust the proofing time and temperature for better results.
- Try different flours or change the flour ratio in your recipe.
By following these tips, you can solve common problems with your gluten-free sourdough. This will help you make a delicious, crusty loaf.
Storage and Reheating Tips
Keeping your gluten-free sourdough bread fresh is key. Store it in a cool, dry spot, like a bread box or paper bag. This keeps it from drying out or getting stale.
To reheat, put it in the oven at 350°F for 10-15 minutes. This brings back its crisp crust and soft inside. Or, use the air fryer for 3-5 minutes to reheat rolls quickly.
With these tips, your homemade sourdough will always be at its best.
FAQ
Can sourdough bread be gluten-free?
Yes, sourdough bread can be gluten-free if made with gluten-free flours such as rice flour, sorghum flour, or brown rice flour. A gluten-free sourdough starter is necessary to ensure the bread remains gluten-free while maintaining the tangy flavor and texture associated with traditional sourdough.
What is the best flour to use for gluten-free sourdough starter?
The best flour for a gluten-free sourdough starter is brown rice flour or sorghum flour. These flours have the necessary starch and structure to create a strong starter, and they support the fermentation process needed for gluten-free sourdough bread.
Can you buy sourdough gluten-free?
Yes, you can buy gluten-free sourdough bread from specialty stores, gluten-free bakeries, or some supermarkets. Look for brands that specifically label their bread as gluten-free sourdough to ensure it’s made without wheat or gluten-containing ingredients.
Is gluten-free sourdough bread ok for IBS?
Gluten-free sourdough bread may be suitable for individuals with IBS (Irritable Bowel Syndrome), especially if it’s made with low-FODMAP ingredients. However, it’s important to check the ingredients for other potential FODMAPs (like garlic or onion) that could trigger symptoms. Always consult a doctor or dietitian for personalized advice.

